

Replacing the carpet in your Land Cruiser can be a rewarding project that not only enhances the interior aesthetics but also contributes to the overall comfort of your vehicle. With the right tools and a detailed installation kit, you can transform your vehicle’s interior from worn-out and dull to fresh and inviting. Whether you’re dealing with stains, wear, or simply wish to upgrade to a more modern look, the process can be straightforward and manageable.
Before you begin, it’s essential to gather all necessary materials and tools. An installation kit specifically designed for the Land Cruiser is highly recommended, as it typically includes high-quality carpet, adhesive, and detailed instructions tailored to your vehicle model. This will ensure a seamless fit and reduce the chances of common pitfalls during the installation process.
As you embark on this project, remember to take your time and follow each step diligently. Proper preparation, including removing the old carpet and cleaning the subfloor, is vital for achieving a successful installation. With careful planning and execution, you can enjoy a new carpet that reflects your personal style while enhancing the durability and comfort of your Land Cruiser.
Choosing the Right Carpet Kit for Your Land Cruiser Model
Selecting the appropriate carpet kit for your Land Cruiser model is crucial for ensuring a proper fit and finish. Different generations and trims of Land Cruisers may have varying specifications, so it is essential to identify your exact model and year before purchasing a kit. Research reputable manufacturers that specialize in aftermarket automotive carpets, as they often provide custom solutions tailored to specific models.
When browsing carpet kits, pay attention to the material quality. Most kits are available in options like nylon or polypropylene, each offering different durability levels and aesthetics. Nylon carpets tend to be more resilient and easier to clean, while polypropylene may provide a softer feel and a range of color choices. Consider your lifestyle and how you will use the vehicle when making this decision.
Installation is another critical aspect of selecting a carpet kit. Some kits come with pre-cut pieces and detailed instructions, while others may require professional installation. If you choose a DIY approach, ensure the kit includes everything you need, such as adhesive and any necessary tools. Review customer feedback on the ease of installation for the specific kit you are considering, as this can significantly impact your experience.
Lastly, consider any additional features that may enhance your interior. Kits that include sound insulation or moisture barriers can provide added comfort and protection, especially in rugged environments. Assess your needs thoroughly to ensure that the carpet kit you select not only fits well but also complements the overall maintenance and upgraded aesthetic of your Land Cruiser.
Step-by-Step Guide to Removing the Old Carpet
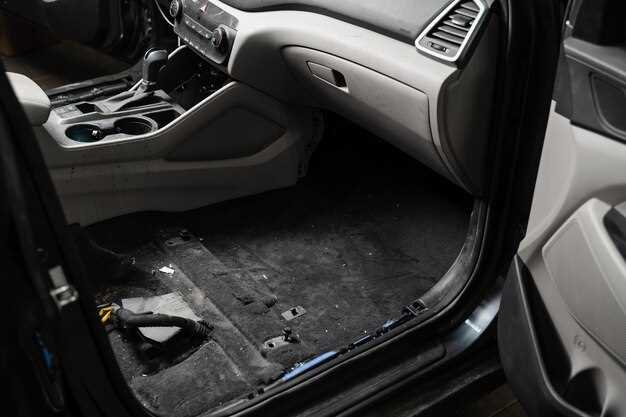
Removing the old carpet from your Land Cruiser is a crucial step in the replacement process. Follow these detailed steps to ensure a smooth removal.
1. Gather Your Tools: Before starting, ensure you have a removal kit. This should include a utility knife, pry bar, pliers, and a screwdriver. Having the right tools will make the process easier and more efficient.
2. Clear the Area: Remove any items from the interior of your Land Cruiser. Take out mats, seats, and any other obstacles that may interfere with carpet removal. This will give you full access to the carpet.
3. Cut the Carpet: Start by using a utility knife to make cuts in the carpet. It’s best to cut the carpet into manageable sections, making it easier to pull up later. Cut along the seams and corners to avoid damaging any underlying materials.
4. Remove Trim and Fasteners: Next, carefully remove any trim pieces or fasteners holding the carpet in place. Use a pry bar to gently lift trim without damaging it. Keep these pieces organized for later reinstallation.
5. Lift the Carpet: Once the carpet is cut and fasteners are removed, begin lifting it from the floor. Start at one corner and gradually pull the carpet away from the adhesive. Be cautious, as some areas may still be stuck.
6. Remove Adhesive Residue: After the carpet is lifted, you may find adhesive or glue residue on the floor. Use a scraper or adhesive remover from your removal kit to clean the surface thoroughly. Ensure that all residues are cleared to prepare for the new carpet.
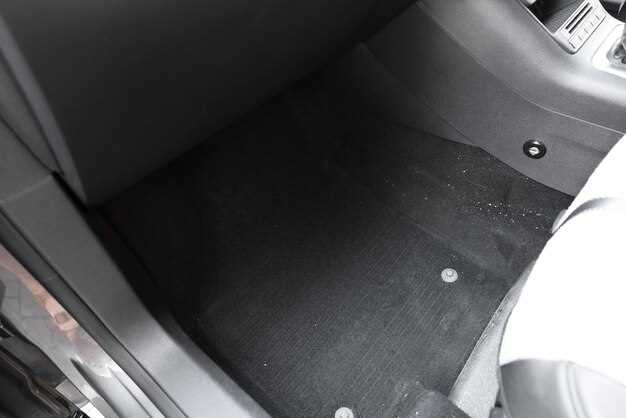
7. Inspect the Floor: After removing the carpet and cleaning the surfaces, inspect the floor for any damage or rust. Address any issues before proceeding with the installation of the new carpet.
Following these steps will help you effectively remove the old carpet from your Land Cruiser, making way for a fresh, new look.
Installing the New Carpet: Techniques for a Perfect Fit
When installing the new carpet in your Land Cruiser, achieving a perfect fit requires careful preparation and attention to detail. Start by thoroughly cleaning the flooring to remove any debris, dirt, or old adhesive. This step is essential to ensure that the new carpet adheres properly and looks seamless.
Next, lay the new carpet out in the vehicle to allow it to acclimate. This will help eliminate wrinkles and ensure that it conforms to the contours of your vehicle’s interior. If the carpet has a rubber backing, allow it to sit in a warm environment for a few hours to make it more pliable.
Begin the installation by positioning the carpet in place, aligning it with the edges and contours of the floor. It is helpful to have a partner assist you during this process to hold the carpet in position while you make adjustments. Ensure that all cutouts for seat mounts, pedals, and seat belts are accurately placed. Use a utility knife for precise cutting, making small adjustments as needed.
For a secure fit, consider using carpet adhesive or double-sided carpet tape along the edges and seams. This method will help keep the carpet from shifting and creating unwanted gaps. If the carpet has a tongue-and-groove design, ensure that the pieces interlock properly to prevent any lifting or curling over time.
Finally, once the carpet is installed, press down firmly across the surface to ensure even adhesion. Allow adequate time for the adhesive to cure before reassembling any components, such as seats and trim, to avoid disturbing the new installation. Following these techniques will result in a flawless carpet installation that enhances the aesthetics of your Land Cruiser.