The 1FZ-FE engine, revered for its durability and performance, powers many Toyota Land Cruiser models. As vehicles age, the need for a comprehensive rebuild becomes apparent, especially for off-road enthusiasts who push their engines to the limits. Understanding the intricacies of the 1FZ-FE engine rebuild process is crucial for restoring it to its former glory.
This guide will walk you through each step of the rebuild process, from disassembly to reassembly. By breaking down the tasks into manageable parts, you’ll gain confidence in your ability to tackle even the most daunting repairs. Whether you are a seasoned mechanic or a DIY enthusiast, following these steps will ensure your 1FZ-FE engine operates at optimum performance and reliability.
Throughout this article, we’ll cover essential tools, necessary parts, and tips for a successful rebuild, emphasizing the importance of precision and attention to detail. With the right approach, you can transform your aging engine into a powerhouse capable of handling any adventure.
Disassembling the 1FZ-FE Engine Components Safely

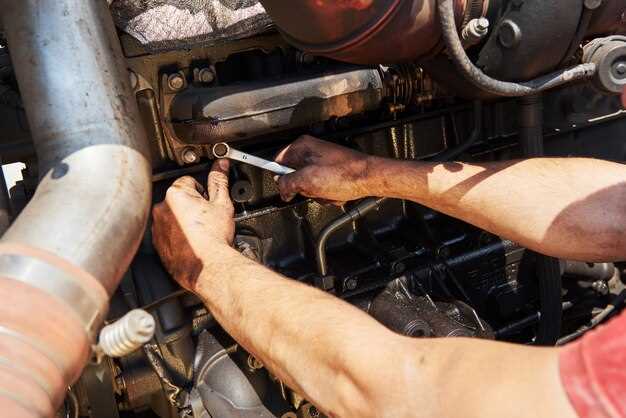
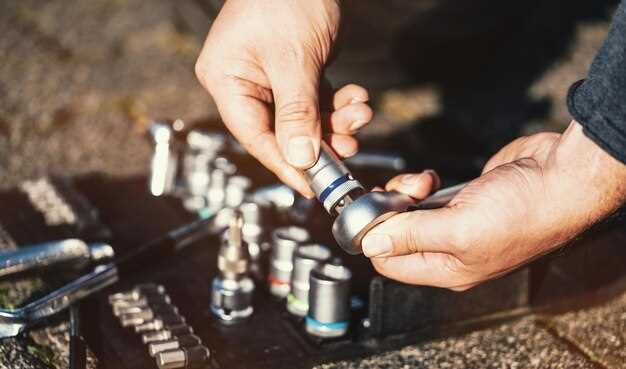
Disassembling the 1FZ-FE engine requires careful attention to detail and safety procedures to prevent damage to parts and ensure personal safety. Begin by gathering the necessary tools, including a socket set, wrenches, screwdrivers, and a torque wrench. Additionally, a clean workspace is essential to keep track of all components as you disassemble the engine.
Prior to starting, ensure the engine is cool and drained of any fluids. Disconnect the battery terminals to prevent any electrical shorts during the disassembly process. Begin with removing the intake manifold, carefully loosening bolts in a criss-cross pattern to avoid warping the manifold. Store nuts and bolts in separate labeled containers to maintain organization.
Next, detach the exhaust manifold, following similar procedures. Pay close attention to any gaskets and seals that may need replacement later. The timing cover can be removed by loosening the timing belt tensioner and carefully sliding off the belt. Take note of the timing marks to facilitate proper reassembly.
Once the timing components are off, you can proceed to the cylinder head. Remove the head bolts in the specified sequence to prevent damage to the head or block. Carefully lift the cylinder head off, ensuring no debris falls into the engine block. Store the head flat on a clean surface to avoid warping.
Following the cylinder head disassembly, the pistons can be accessed by removing the oil pan. Be cautious with the oil pickup tube and ensure all fasteners are accounted for. The pistons can then be pushed out from below, taking care not to scratch the cylinder walls.
Finally, assess all components for wear and damage. Clean each part thoroughly before storage or inspection. Properly labeling and organizing parts throughout the process will simplify the reassembly of your 1FZ-FE engine and ensure that each step can be efficiently executed without confusion.
Inspecting and Replacing Worn Parts of the 1FZ-FE Engine

Inspecting the 1FZ-FE engine for worn parts is a critical step in the rebuilding process. Begin with a thorough visual examination of the engine components, focusing on areas prone to wear such as the timing belt, gaskets, and seals. Look for any signs of oil leaks or coolant leaks that may indicate deteriorated seals.
Next, assess the condition of the piston rings. Remove the cylinder head for a closer look at the pistons. Use a ring expander tool to carefully inspect the rings for scoring, wear, or breakage. If they show signs of significant wear, replacement is necessary to ensure proper compression and engine performance.
Examine the bearings, including the main and rod bearings. Look for wear patterns on the bearing surfaces that could indicate inadequate lubrication or excessive load. If the bearings are worn or scored, replace them along with the corresponding crankshaft journals, if necessary. This helps maintain the engine’s integrity and longevity.
Evaluate the camshaft and lifters as well. Check for signs of wear, such as pitting or abnormal wear patterns. Replace any worn camshafts or lifters to avoid performance issues. Additionally, inspect the timing chain and guides, replacing them if any wear or slack is detected to ensure precise timing and engine synchronization.
Don’t forget to inspect the oil pump. A failing oil pump can lead to inadequate lubrication and serious engine damage. If it shows any signs of wear or malfunction, replacing it is essential for the health of the 1FZ-FE engine.
Lastly, all gaskets should be replaced during the rebuild process. Worn gaskets can cause leaks, leading to a drop in engine performance and potential damage. Use high-quality replacement gaskets to ensure a proper seal and prevent future leaks.
Assembling and Testing the Rebuilt 1FZ-FE Engine
Assemble the rebuilt 1FZ-FE engine with precision, following a systematic approach. Begin by ensuring that all components are clean and free from debris. Lay out the engine block, cylinder head, and all necessary components to streamline the assembly process.
Start with the installation of the crankshaft into the engine block. Ensure that the main bearings are correctly positioned and lubricated. Follow this by placing the main caps and securing them with the appropriate torque specifications. Next, install the pistons and connecting rods. Ensure each piston ring is correctly aligned, and use a ring compressor to facilitate the installation into the cylinder bores.
After the pistons are in place, attach the cylinder head to the block. Use a new head gasket to ensure a proper seal. Torque the cylinder head bolts in the correct sequence to prevent warping. Follow with the installation of the timing belt or chain, aligning it precisely to the timing marks on the 1FZ-FE engine components.
Once the assembly is complete, focus on the accessories. Install the intake and exhaust manifolds, ensuring all gaskets are in good condition. Attach the necessary sensors and wiring harnesses, making sure all connections are secure. Add fluids, including engine oil and coolant, to prepare for the testing phase.
Testing the rebuilt 1FZ-FE engine involves several critical steps. First, perform a visual inspection to ensure all components are correctly installed. Proceed with a cranking test without starting the engine to build oil pressure. Monitor the oil pressure gauge to confirm that oil is circulating properly.
Once oil pressure is verified, start the engine and listen for any unusual noises. Monitor the engine’s temperature, ensuring it does not exceed safe operating limits. Check for leaks at all joints and gasket areas. After the initial running period, let the engine idle, gradually increasing RPM while monitoring performance. Conduct a road test to evaluate power delivery and responsiveness. Pay close attention to any abnormal sounds or vibrations, as they could indicate underlying issues.
Finally, complete a thorough inspection after the first few hours of operation, checking fluid levels and any signs of wear or leakage. Successfully completing these steps ensures that the rebuilt 1FZ-FE engine functions reliably and efficiently.
